
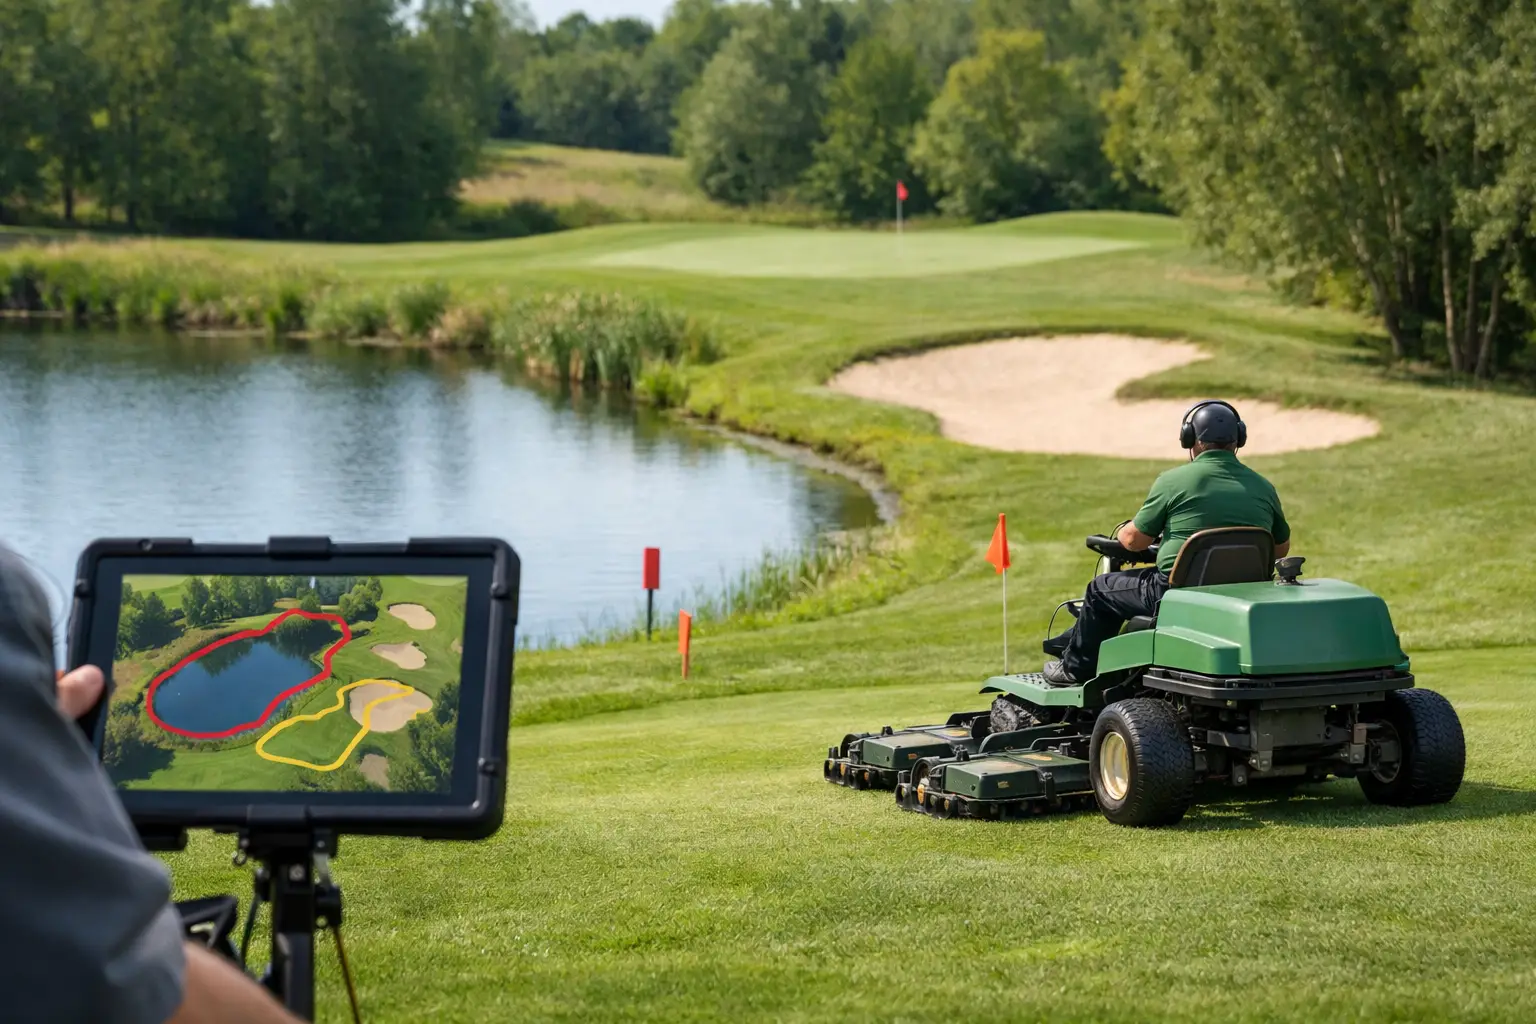
A golf course can look straightforward on a plan and behave very differently on the ground. When considering how to map golf hazards, the objective is not simply to mark bunkers and water as playing features. It is to create an operational map that enables safe, repeatable mowing around every risk point, while protecting presentation standards and avoiding unnecessary manual intervention.
For autonomous turf care, a hazard map becomes part of the working specification. It defines where equipment can operate, where it must slow or stop, and where a separate maintenance method is required. Done properly, it supports consistent cutting across fairways, surrounds, rough and other managed areas without putting machines, turf or course users at risk.
Start with an operational definition of a hazard
A playing hazard and a mowing hazard are not always the same thing. A bunker is an obvious example. Its edge, sand face and entrance slope may be unsuitable for a mower, but the surrounding approach can often be maintained efficiently with a clearly defined boundary. Similarly, a pond may be distant from the line of play yet present a serious risk where a steep bank, wet ground or narrow strip of turf limits safe machine access.
Build the map around operational risk rather than the scorecard. Identify anything that affects traction, turning room, satellite positioning, line of sight, access, safety or the quality of cut. This approach avoids a common mistake: creating one large exclusion zone around a feature that could otherwise be mown safely and productively.
The most useful maps distinguish between permanent hazards, seasonal hazards and temporary restrictions. Permanent features include water, bunkers, bridges, retaining walls, steep banks, trees, buildings and fixed furniture. Seasonal risks may include saturated ground, winter drainage outfalls, soft approaches to water and areas affected by shade. Temporary restrictions can include construction work, aeration, tournament infrastructure, irrigation repairs and temporary pedestrian routes.
How to map golf hazards through a site survey
Begin on foot, with the intended mowing area and machine type in mind. Existing course drawings are useful, but they rarely show the details that decide whether autonomous equipment can work reliably. Walk every boundary, transition and narrow passage. Record what the mower will encounter at ground level, rather than what looks significant from an aerial image.
For each hole and operational zone, assess the approach to the feature as well as the feature itself. A pond with a flat, wide grass margin may require a modest exclusion boundary. The same pond with a cambered bank, inconsistent edge and wet exit route needs a more conservative buffer. The correct setting depends on slope, ground bearing capacity, machine capability and the level of supervision available.
Measure or record the following during the survey:
- Water edges, ditches, culverts, drainage channels and washout areas
- Bunker lips, steep faces, sand spill zones and narrow surrounds
- Changes in gradient, crossfall, steps, retaining edges and drop-offs
- Trees, low branches, roots, posts, signs, benches, ball washers and bins
- Bridges, paths, gates, access roads and shared pedestrian areas
- Known wet spots, shaded areas and surfaces that deteriorate after heavy rain
Photographs and brief site notes add context that coordinates alone cannot provide. A note such as “soft after 20 mm rainfall” or “players cross here from the sixth tee” is operationally valuable when the mowing plan is reviewed later in the season.
Set boundaries from the machine outward
Do not treat every boundary as a simple line traced around an obstacle. Set it according to the mower’s dimensions, turning behaviour, cutting deck position and required safety margin. A machine may physically fit between a bunker and a path but still be unable to turn, recover from wheel slip or maintain a clean finish without risking turf damage.
This is particularly relevant around greens. The close-cut surround may need a precise mowing area, while the final collar, bunker edge and hand-finished detail remain outside the autonomous zone. That is not a failure of automation. It is a sensible division of labour that preserves the standard expected on a high-profile surface.
Where possible, create smooth boundaries rather than sharp, complex shapes. Excessive corners and narrow islands can increase turning, reduce productivity and leave visible variation in the cut. A practical mowing map should follow the course layout while still allowing efficient machine movement.
Create clear operating zones
A single map is easier to manage when it is divided into zones with a defined purpose. Fairways, semi-rough, practice grounds, driving range outfields, clubhouse approaches and perimeter areas usually have different traffic patterns, presentation requirements and operating windows.
For each zone, define the permitted work area, exclusion areas, entry and exit points, charging or docking arrangements, and the times when mowing is appropriate. A fairway may be suitable for scheduled autonomous mowing outside peak play, while a busy practice ground may require tighter timing controls and a different supervision level.
Narrow links between zones deserve particular attention. Routes across bridges, beside tees, through gates or along paths can become pinch points. If a transition is not wide, level and predictable enough for autonomous movement, treat the areas as separate mowing zones and transport the mower between them when necessary. This may add a small amount of handling time, but it can prevent repeated stoppages and avoidable damage.
Map people as carefully as physical obstacles
Golf is a live environment. Players, greenkeeping staff, visitors, contractors and buggies move through the site throughout the day. Their routes should be considered as part of the hazard map, especially around the first tee, clubhouse, practice facilities, halfway house and crossings between holes.
Identify where people naturally appear from behind hedges, buildings or changes in elevation. Mark routes used by maintenance teams and identify periods when a zone is busy, such as competition mornings, lesson times or visitor arrivals. The operational response may be a time restriction rather than a permanent exclusion area.
This is where autonomous mowing delivers value when it is planned around the course operation, not simply added to it. Scheduling work in low-traffic windows allows labour to be directed towards presentation work, course set-up and tasks that still benefit from skilled manual attention.
Account for changing ground conditions
No golf hazard map is finished after the first survey. Ground conditions shift with rainfall, drainage performance, renovation work, tree growth and seasonal play patterns. A route that works well in July may be unsuitable in January, while a dry summer can reveal hard edges or exposed roots that were not previously a concern.
Set review points through the year. Revisit the map after prolonged wet weather, major bunker refurbishment, drainage installation, tree works and any incident involving a machine stop or turf marking. Operators should be able to report problem locations quickly, then adjust a boundary or route before the same issue is repeated.
It is also worth maintaining separate seasonal operating rules. Wet-weather zones can be paused when conditions demand it, rather than allowing a mower to test marginal ground. Protecting a weak area early is usually more productive than repairing compaction, wheel marks or damaged turf later.
Validate the map before full deployment
A mapped area should be tested in stages. Start with a supervised run during a quiet period and observe the machine at every critical point: boundary approaches, turns, slopes, transitions, narrow passages and return routes. Watch the turf response as well as the machine movement. A route can be technically safe yet still create unacceptable scuffing where repeated turns occur.
Adjust one variable at a time. Widen an exclusion area, alter a route, change a start point or amend the mowing schedule, then test again. This produces a dependable operating plan far more quickly than trying to solve every issue in a single configuration session.
Keep a record of the approved map and its revisions. Course managers need clarity on which areas are autonomous, which remain manually maintained and who is responsible for authorising changes. That discipline becomes increasingly valuable as robotic mowing expands across multiple holes or facilities.
A well-mapped course does more than keep a mower away from water and sand. It gives the greenkeeping team a controlled framework for applying autonomous precision where it adds the most value, while retaining expert judgement at the edges of play.